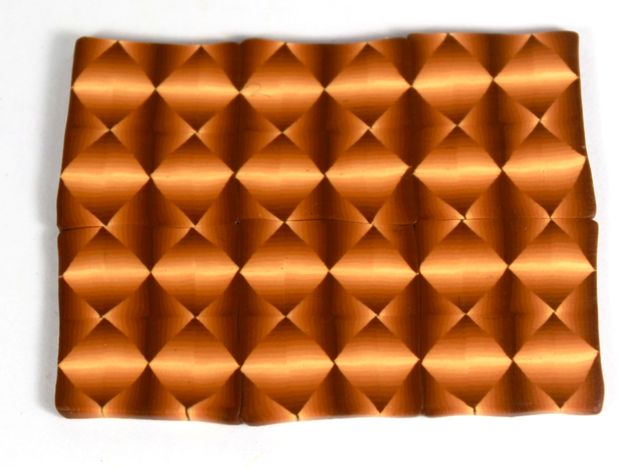
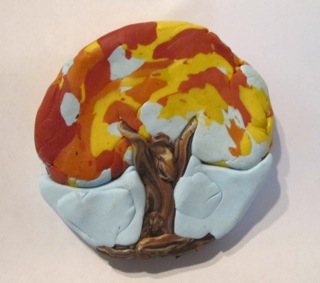
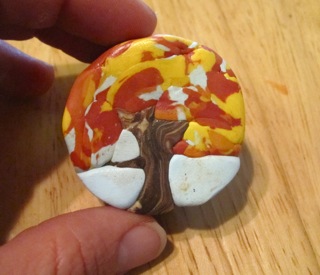
This is very similar to the “honey color” or gold blend that I posted earlier. This blend is used in the January 2015 issue of Cane Builder.
Premo brand: Raw Umber, Burnt Sienna, Orange, White


This is very similar to the “honey color” or gold blend that I posted earlier. This blend is used in the January 2015 issue of Cane Builder.
Premo brand: Raw Umber, Burnt Sienna, Orange, White
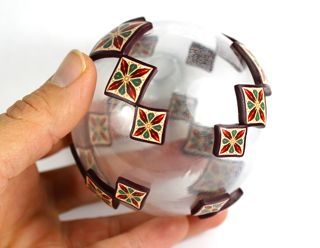
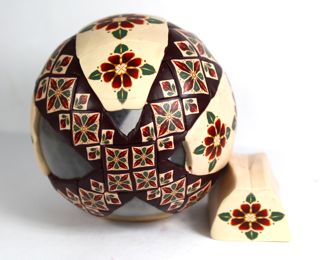
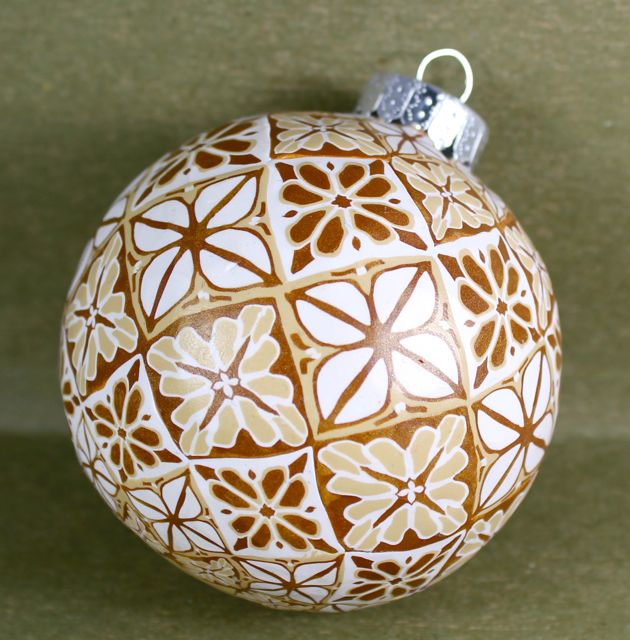
This looks like a complex way to cover a glass ball ornament. However, if you follow the steps one at a time, the geometry of covering the round surface isn’t as complicated as it looks.
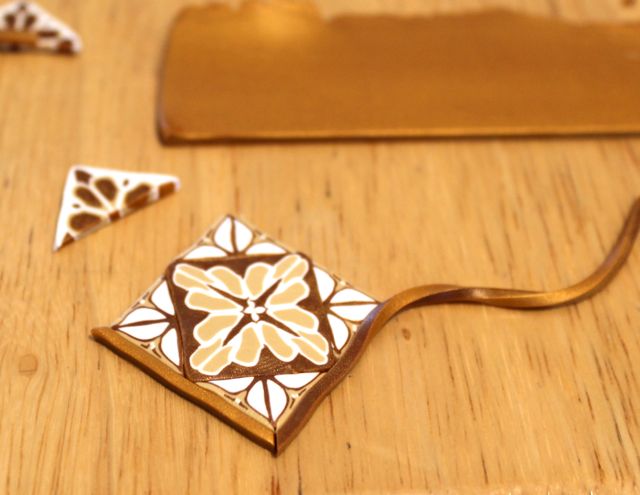
You can use this pattern for any geometric square cane. These canes were made from the November 2014 issue of Cane Builder.
Step 1: Press four slices of a square cane onto the middle of the ornament. Check the slices from every angle to see if they are even in all directions.

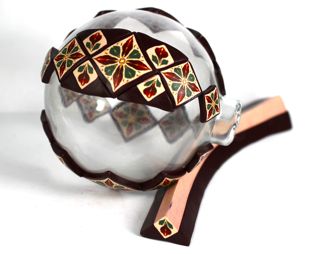
Step 2: Reduce the cane a little and add them to the top and bottom of the first cane slice. Imagine a line going from the center of the top of the ornament down to the bottom. There is usually a slight bump at the bottom of the ornament.
Step 3: Repeat step 2 with even smaller slices.
Step 4: Make a triangle cane to fit in-between the squares. I handmade two triangles of the background color. I also added a strip of clay to the bottom. You can see it if you look closely.

Step 6: Reduce this triangle until it fits in-between each set of squares. This will take a little squishing and stretching because one side of the triangle will need to be larger as the other side tappers down to the smaller end.

I cut the tiny triangles in half to finish up all the way to the top.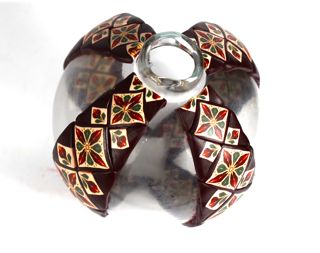
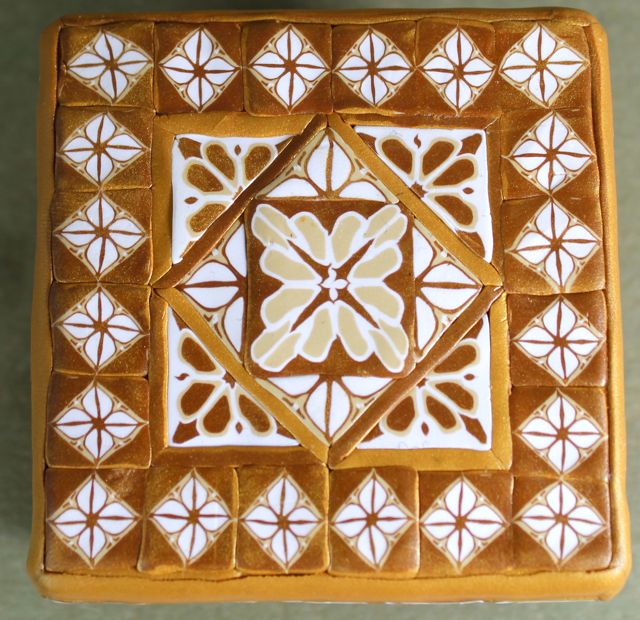
Step 7: Use a square cane to fill in-between the stripes. Optional: if you want to change the direction of pattern, (like a diamond shape) add triangles to make a bigger square. These could be a background color, or other geometric triangle cane.

Step 8: Reduce the cane further and reshape it to fit the curve in the glass.
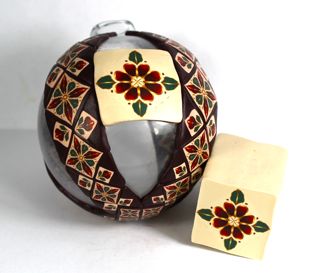

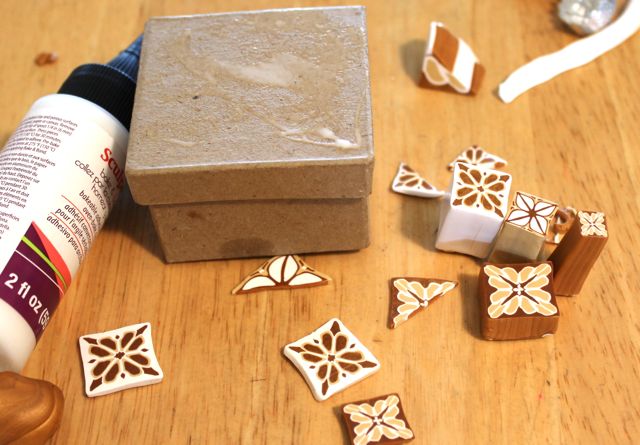
Step 9: Fill in the little spaces left over with solid color. I either slice these from a solid color cane that I formed to fit, or cut them out of a sheet that I run through the pasta machine.

Optional: This is a very tricky step! Proceed with caution 🙂
I shave off parts of the surface with a tissue blade to even out the cane slices. A lot of the finishing just takes practice. I find each ornament I make is a little better, but none of them are perfect. It’s still worth it!

Once the ornament is baked I sand it starting with 60 grit and working down to 1500. Sometimes I try to get away with not sanding it. The main reason I sand is because the off-white seems to get a film of red on it while I work. The sanding process cleans up the colors beautifully!

For an entirely different approach, try these ornaments from the bonus tutorial with Cane Builder.
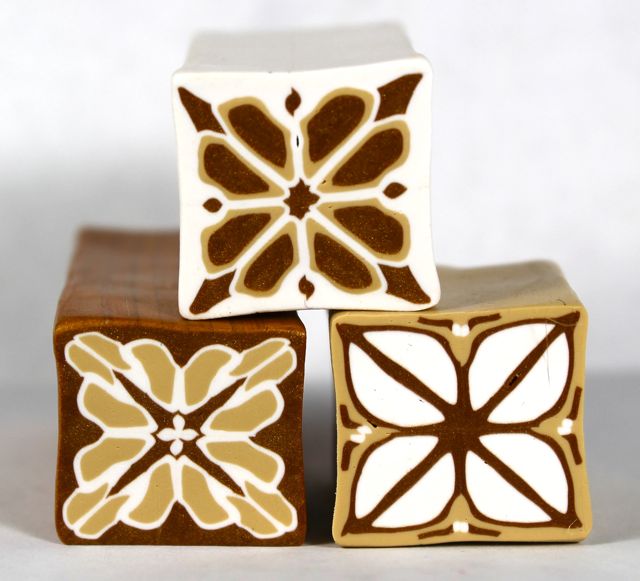
For those of you working with the November issue of Cane Builder, here is an elegant color scheme right out of the package! Just three colors of Premo clay: ecru, white, and metallic gold!

I’m a clay artist, but also a painter. I never fight with my clay, but I’ve fought with my paintings for years. Whatever your art or craft, these thoughts might encourage you.
I often struggle with all kinds of doubt and discouragement as an artist. I get overwhelmed and I can’t seem to get anything done. Getting out rock climbing has taught me a few things about flow.
For the first time ever, I’m seeing painting as flow. Just like my new understanding of rock climbing. You don’t fight with it, you make it yours. You don’t attack it, you live there. Yes, sometimes you fall, and yes, sometimes you’re too tired to go on. Sometimes you just can’t make it. But so what? Stop when you are done and then go back. Stronger this time. And smarter. It has become part of your muscle memory. But not because you’re striving, just because you’re there. Sometimes you keep going when you don’t think you can. Sometimes you make a crazy, risky, leap. Not because your striving but because, “why not”? No fear. Always, you focus on one move at a time. You always make one more move (like just squeezing the paint onto the palette, or conditioning a little ball of clay), even if it might be as far as you can go. Maybe, once you’re there, the answer for the next move will turn up. Sometimes you rest. You look and look and look, for the way. Then the way turns up. Its still not striving. Its watching.
More thoughts along these lines in this post on my painting blog.
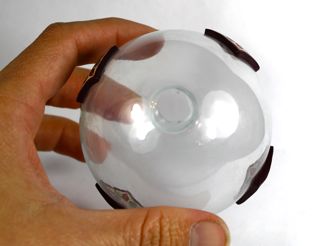
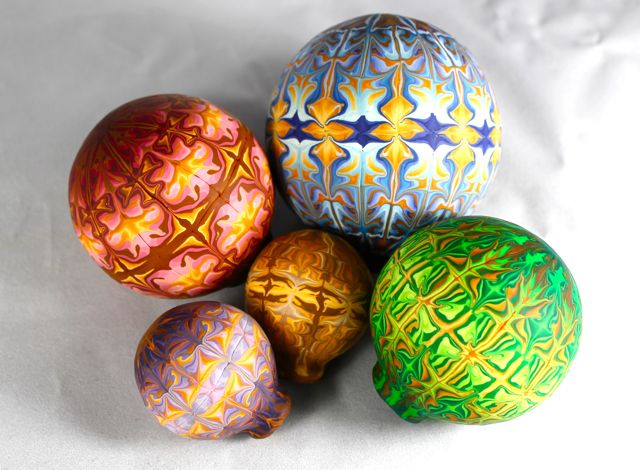
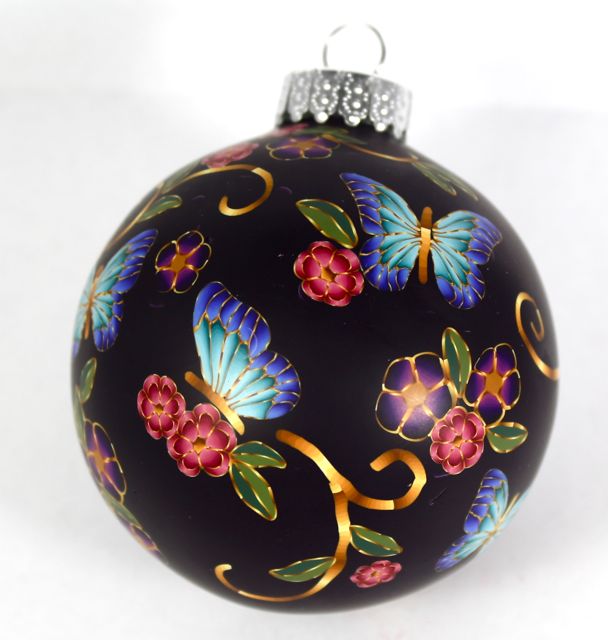
I’ve been experimenting with ways to cover glass ball ornaments. This first ornament was covered with a solid color clay. Then it was decorated with backgroundless canes from the October 2014 issue of Cane Builder. Here is a video on how to reduce and apply canes with no background.
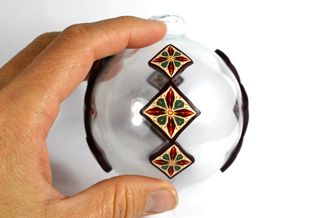
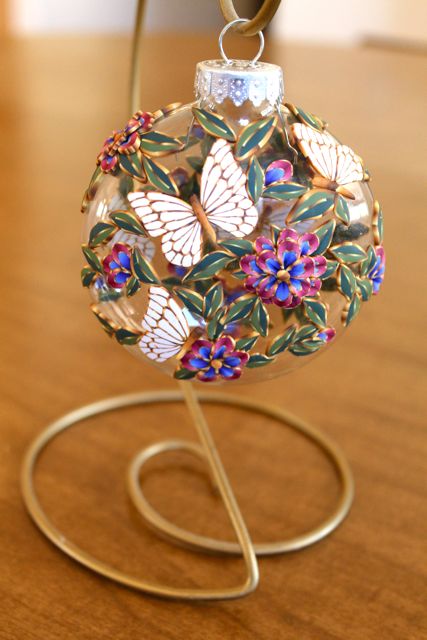
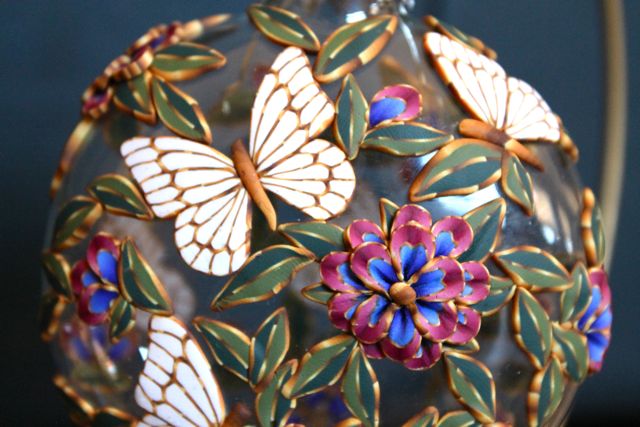
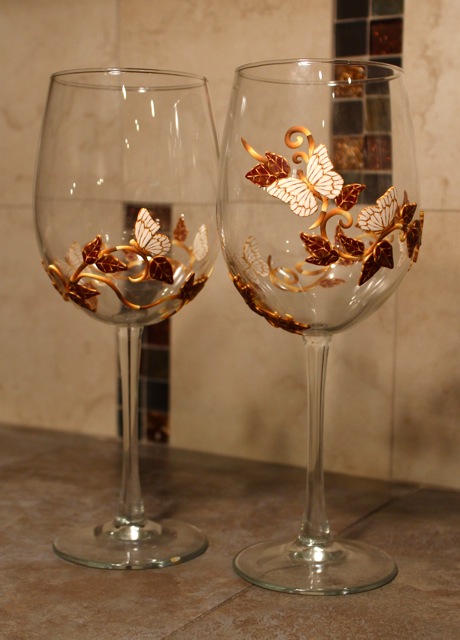
The second ornament is decorated with cane slices in a way that lets the glass show through. These are the same butterflies I used to decorated the wine glasses.

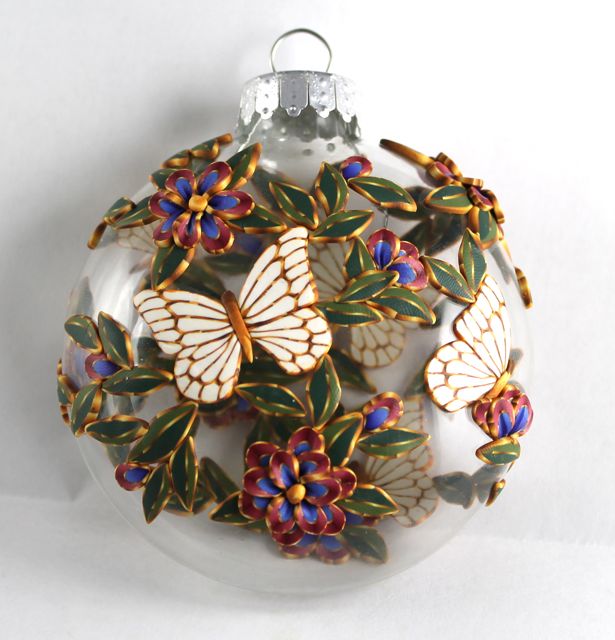

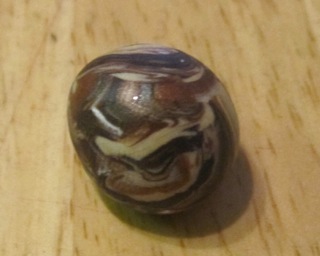
I just posted a new YouTube video that shows how to make these canes. In the video I promised to photograph the canes and the purple blend that I used. Come see the free video tutorial that shows how to make these! https://www.youtube.com/watch?v=kLSF8m_xk_I
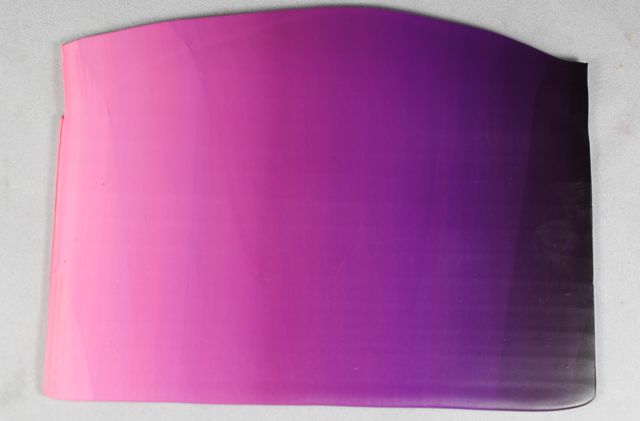
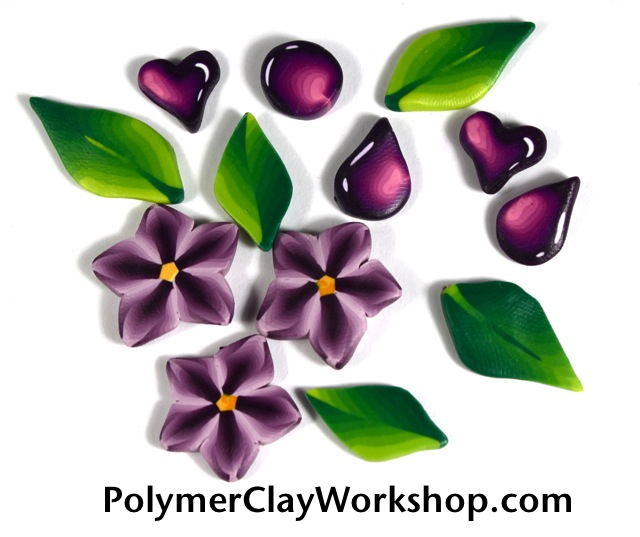 The purple blend for the “balloon canes” is Premo clay. White, Blush, Purple, Black. Here is the printable stencil if you want to use it. purple blend

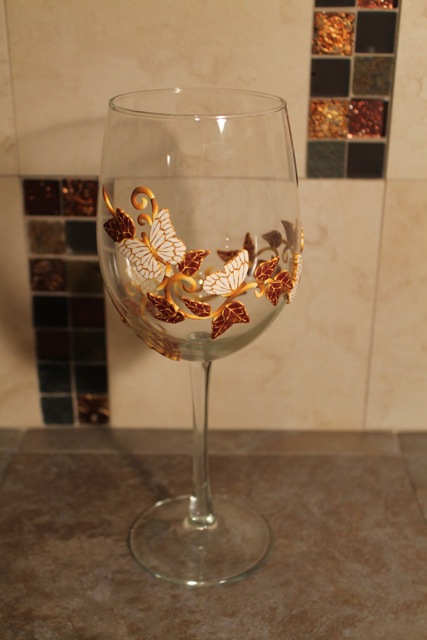
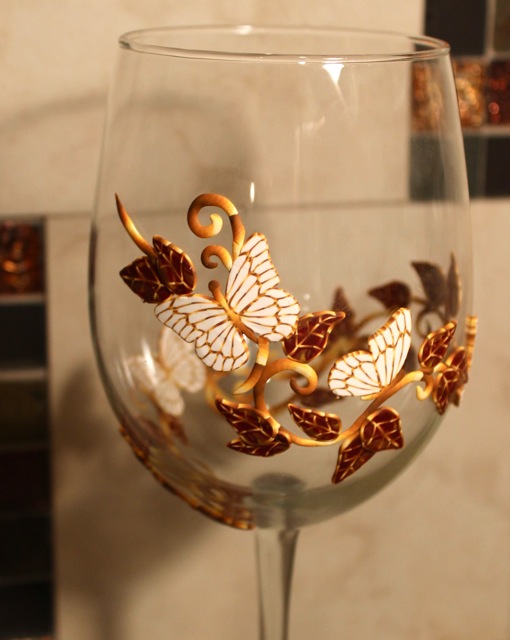
Here are some wine glasses I made today from the canes in this issue of Cane Builder. I didn’t put any bond or adhesive on these glasses. The glass needs to be clean. Press the cane slices on very firmly. When you look at the clay from the inside of the glass, you will be able to see when it completely adheres to the glass. I’ve been able to hand wash these glasses without any clay falling off. One important part of the design is to make sure that all of the clay is connected. Because the clay is interlaced, and because it fits the contour of the glass, it doesn’t really have anywhere to go even if a small part gets disconnected.
It’s still important to treat these glasses carefully. Never put them in the dishwasher or microwave!!!
I put the glasses in the oven first. I let the glass preheat and cool off in the oven. I don’t know if this is necessary, but better safe than sorry!
Awhile back a posted a tutorial about a cherry tree cane. This is the same idea, just with a fall tree. I love the way mixed up clay makes beautiful bark on the tree!
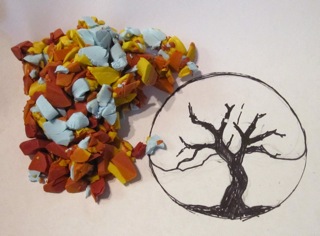


Also check out one of my favorite leaf tutorials!


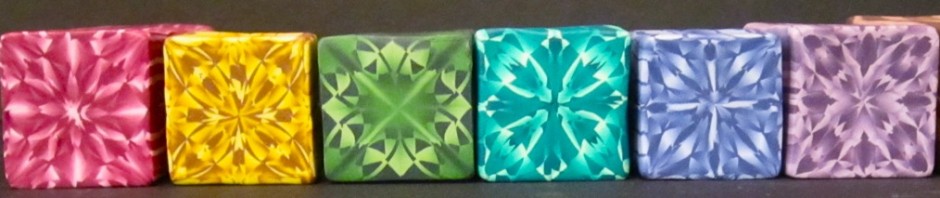
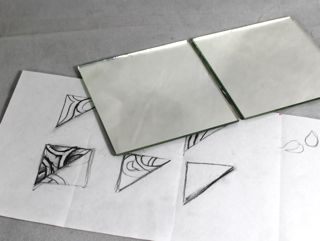
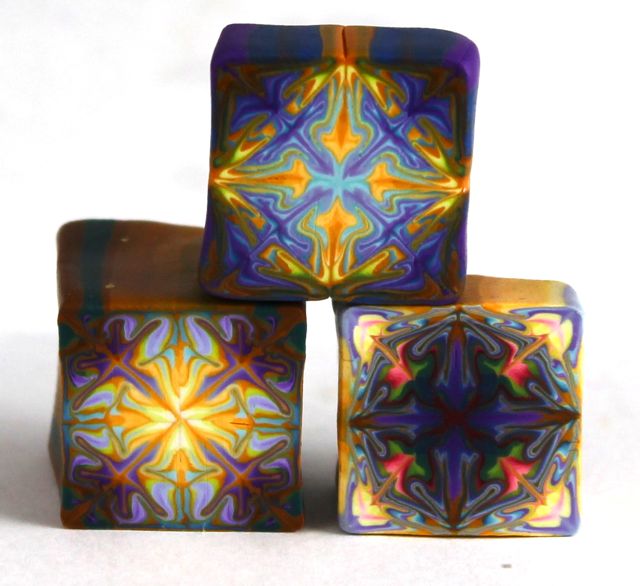
My all-time favorite part of working with clay is playing and designing! Any time I sit down with a pencil and this wonderful mirror tool I can easily get lost for hours dreaming up new designs. I took these three canes
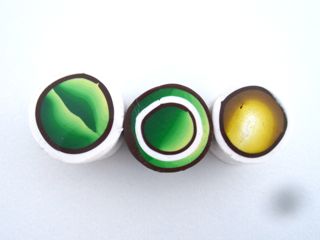
and came up with this kaleidoscope cane.
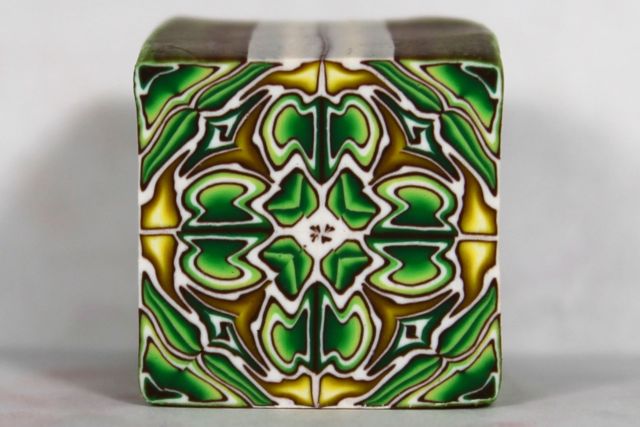
Kaleidoscope canes work just like real kaleidoscopes, so I thought, “why not make a video that shows canework just as though I were looking at an ever-changing kaleidoscope”! Here is the link to the video and a few more pictures of designing with the use of mirrors.


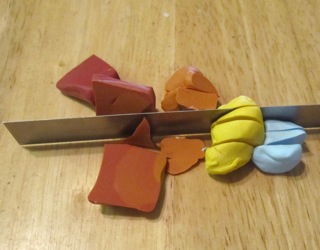
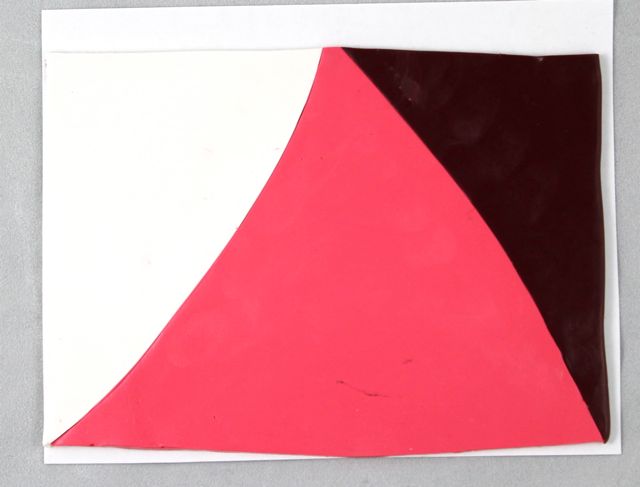
Here are some color blend experiments with alizarin crimson, premo brand, polymer clay.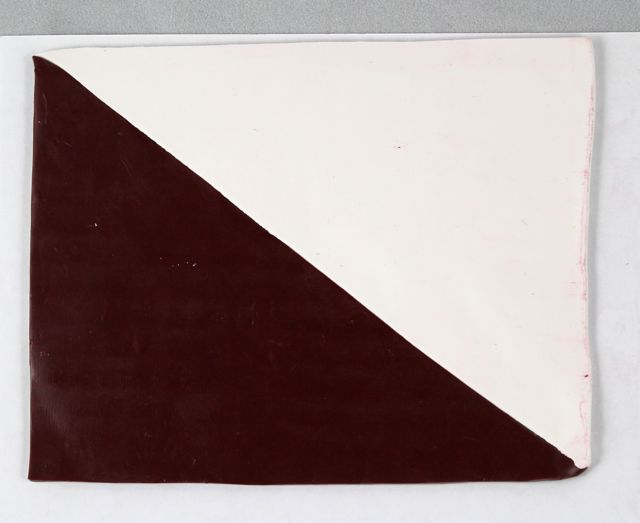
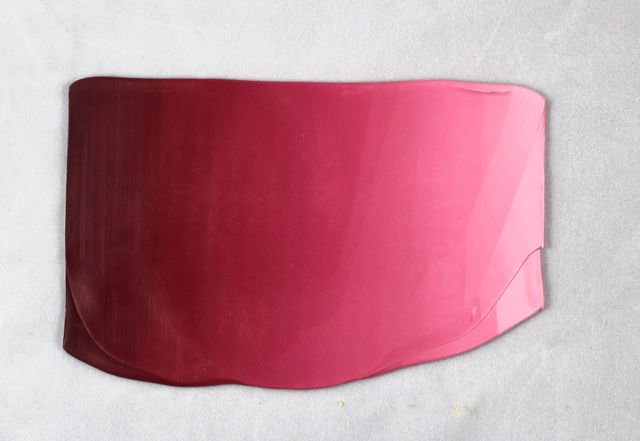

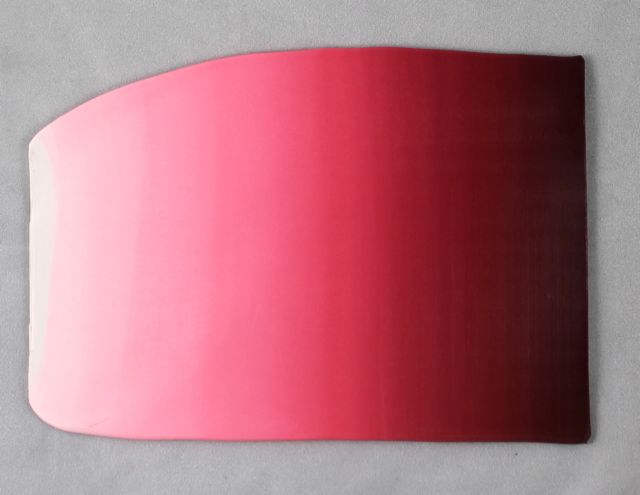
Here I’ve introduced blush.
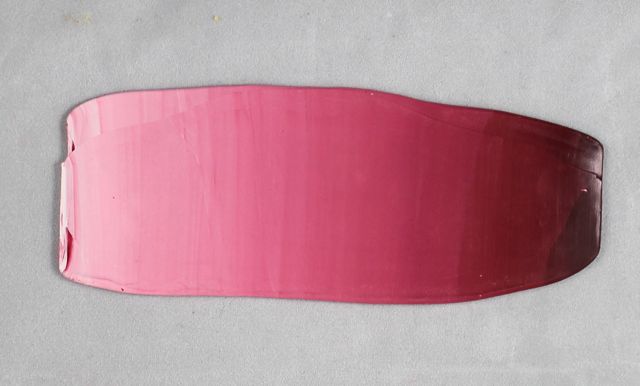
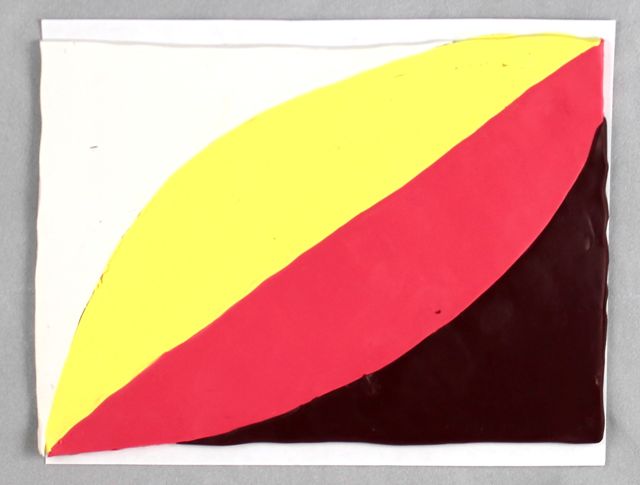
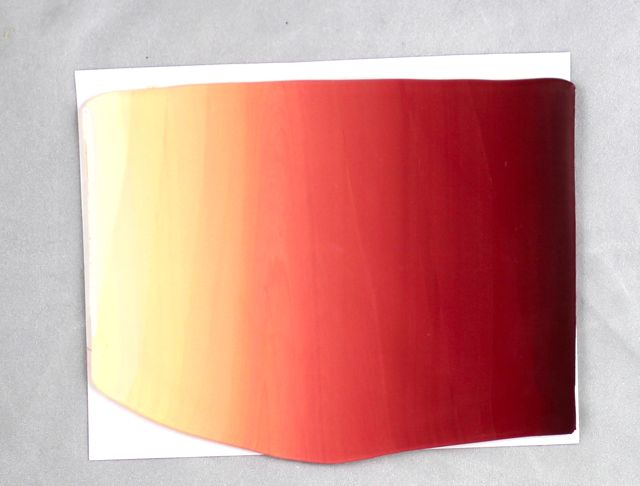
and here I have added sunshine.
This one one of several blends I made from my Marbled Cane tutorial. It is the bonus tutorial for new subscribers to Cane Builder.
My first trial was the honey blend. I’ll post new blends as I discover them.