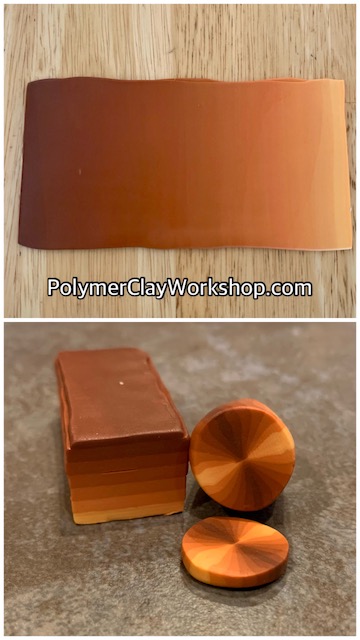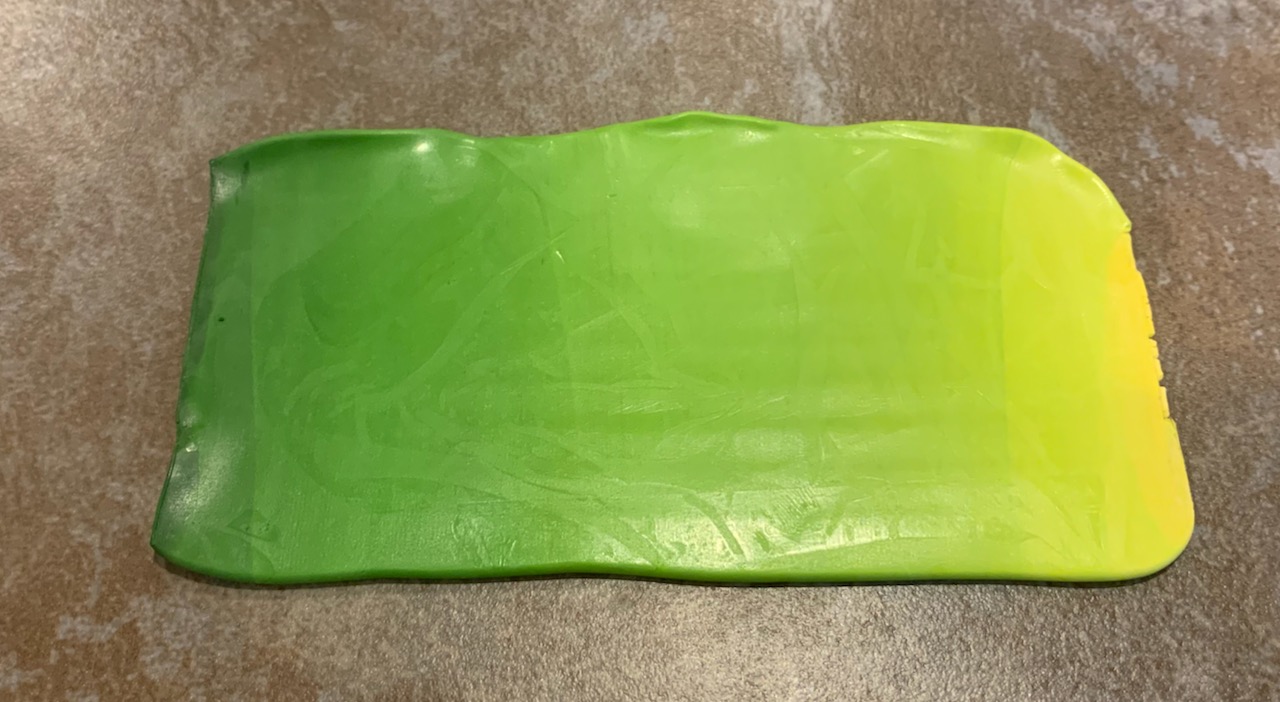
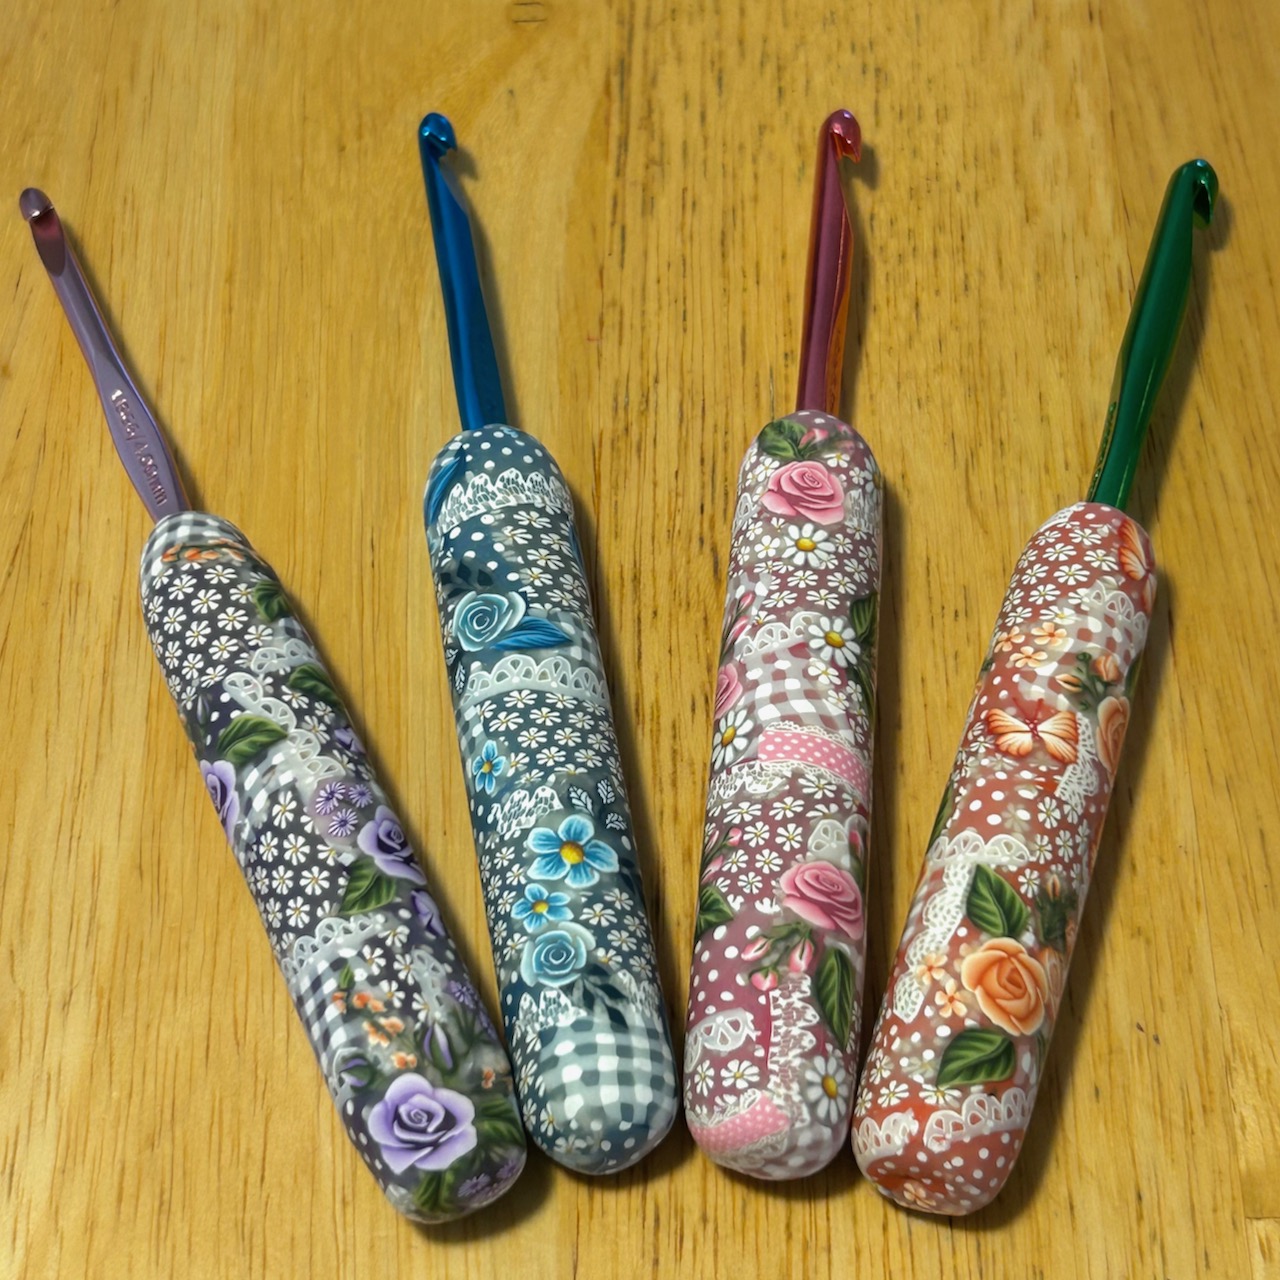
First of all, don’t make it complicated! Cover a crochet hook with clay. That’s it! Swirly clay makes beautiful crochet hooks so you don’t even need to know how to make anything special. I add polymer clay canes to my hooks. The game changer for me was to bake a base layer first. I have been absolutely amazed by how smoothly I can work canes into any clay surface as long as the clay underneath is very thin and won’t distort the shape. I just roll it firmly against the work surface. I don’t even need to sand or glaze the finished hook.
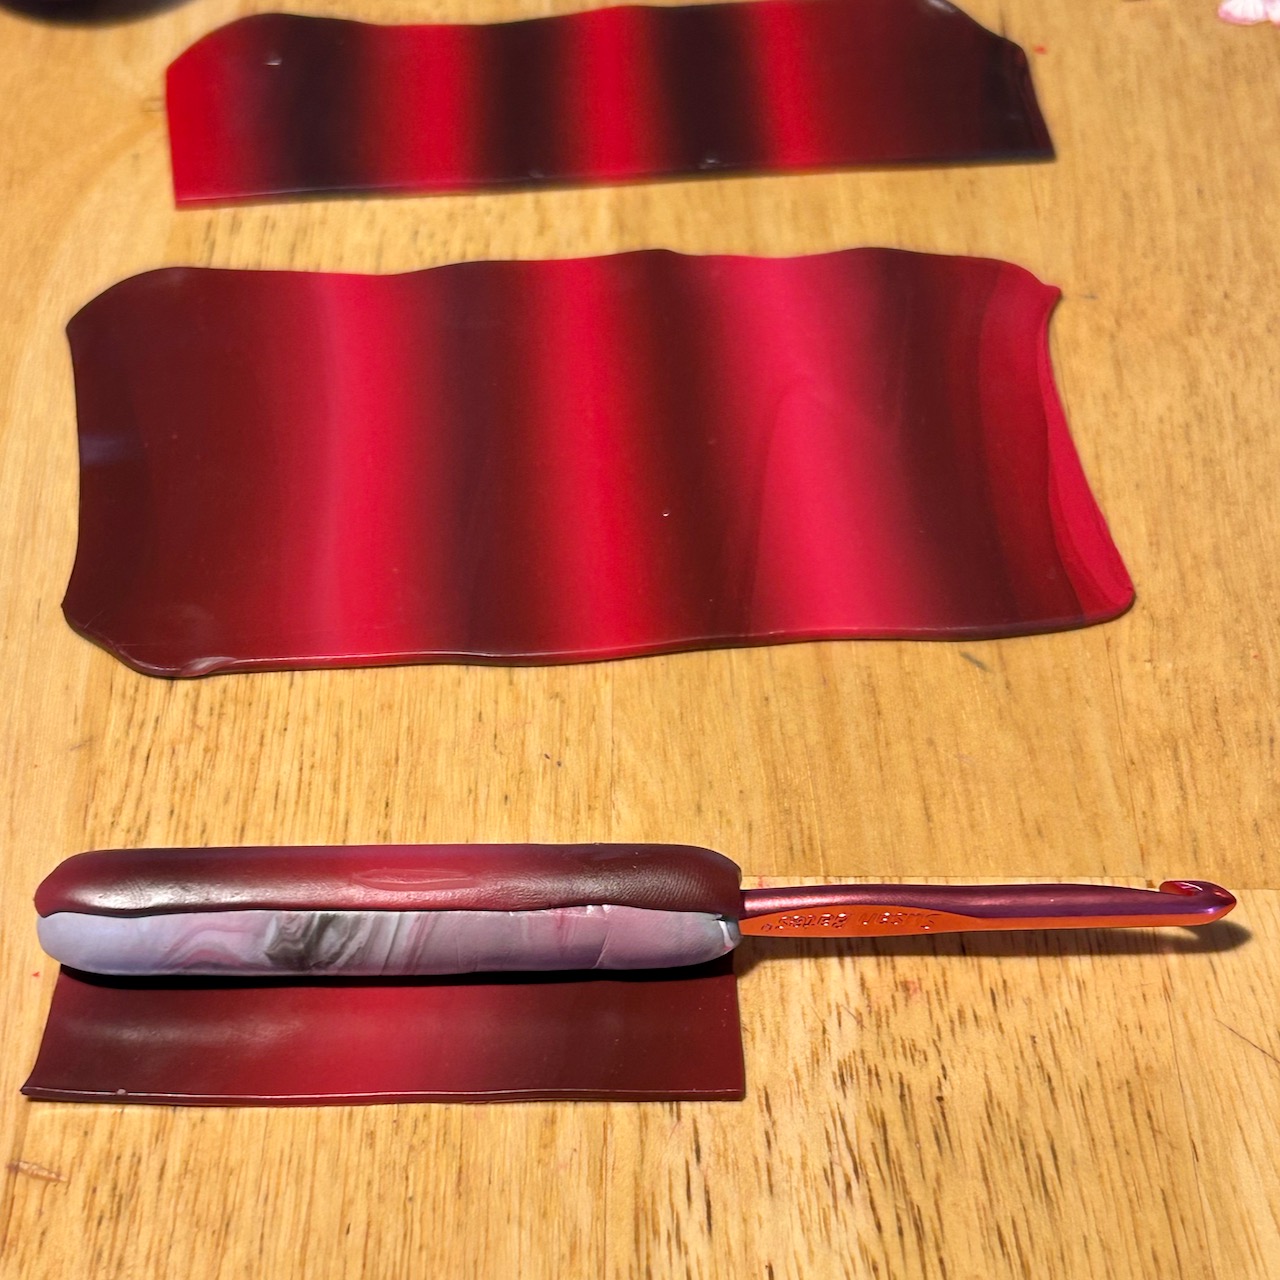
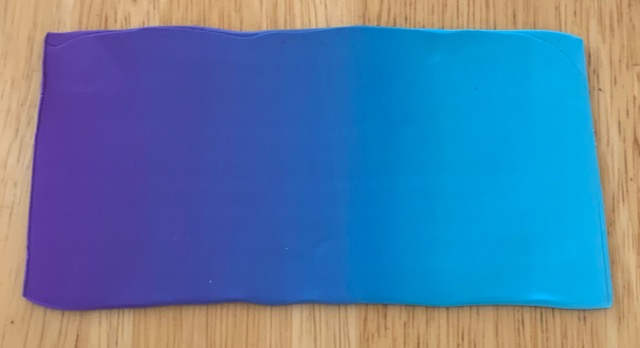
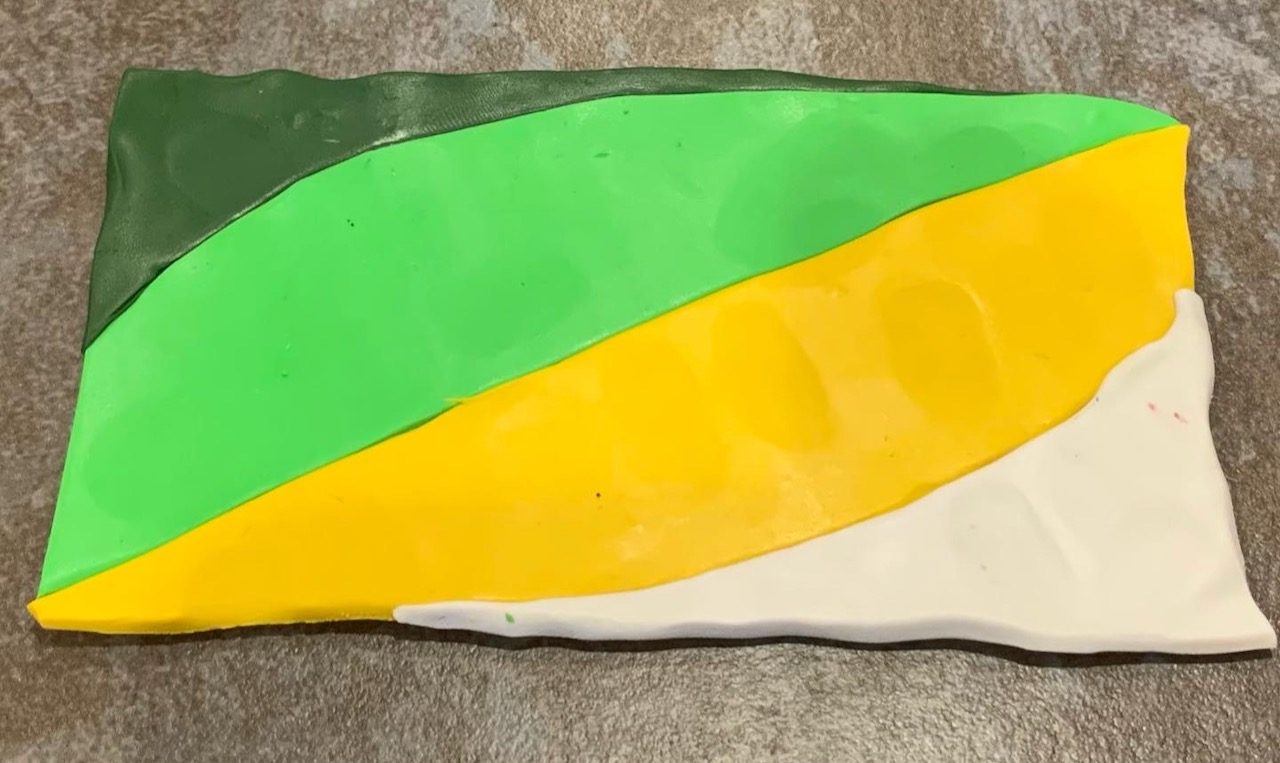
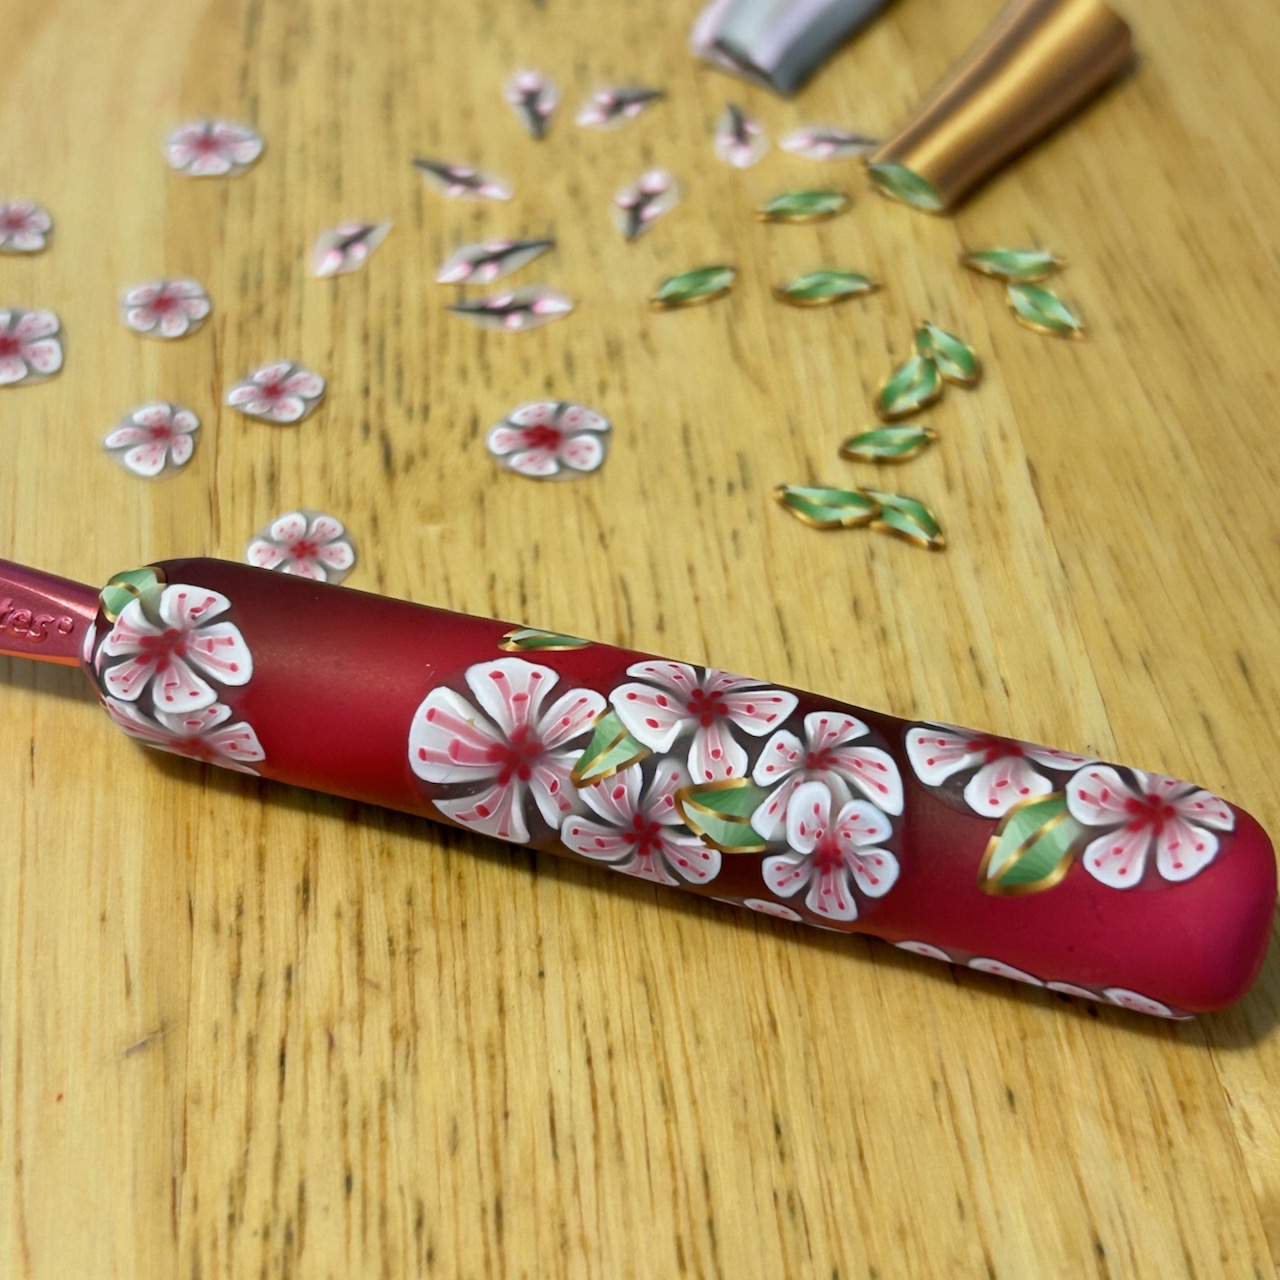
I cannot tell you how excited I am to find a way to use al my scrap clay!!! I run scrap clay through my pasta machine or roll it out on the table. Then I wrap it around the crochet hook. Be sure to avoid any air bubbles. Once the first layer is rolled on, I add a second layer if necessary. Then I bake the hook. The last layer is the color I want to use. Here I worked in my cherry blossom “murrine style” canes from my Patreon lessons.
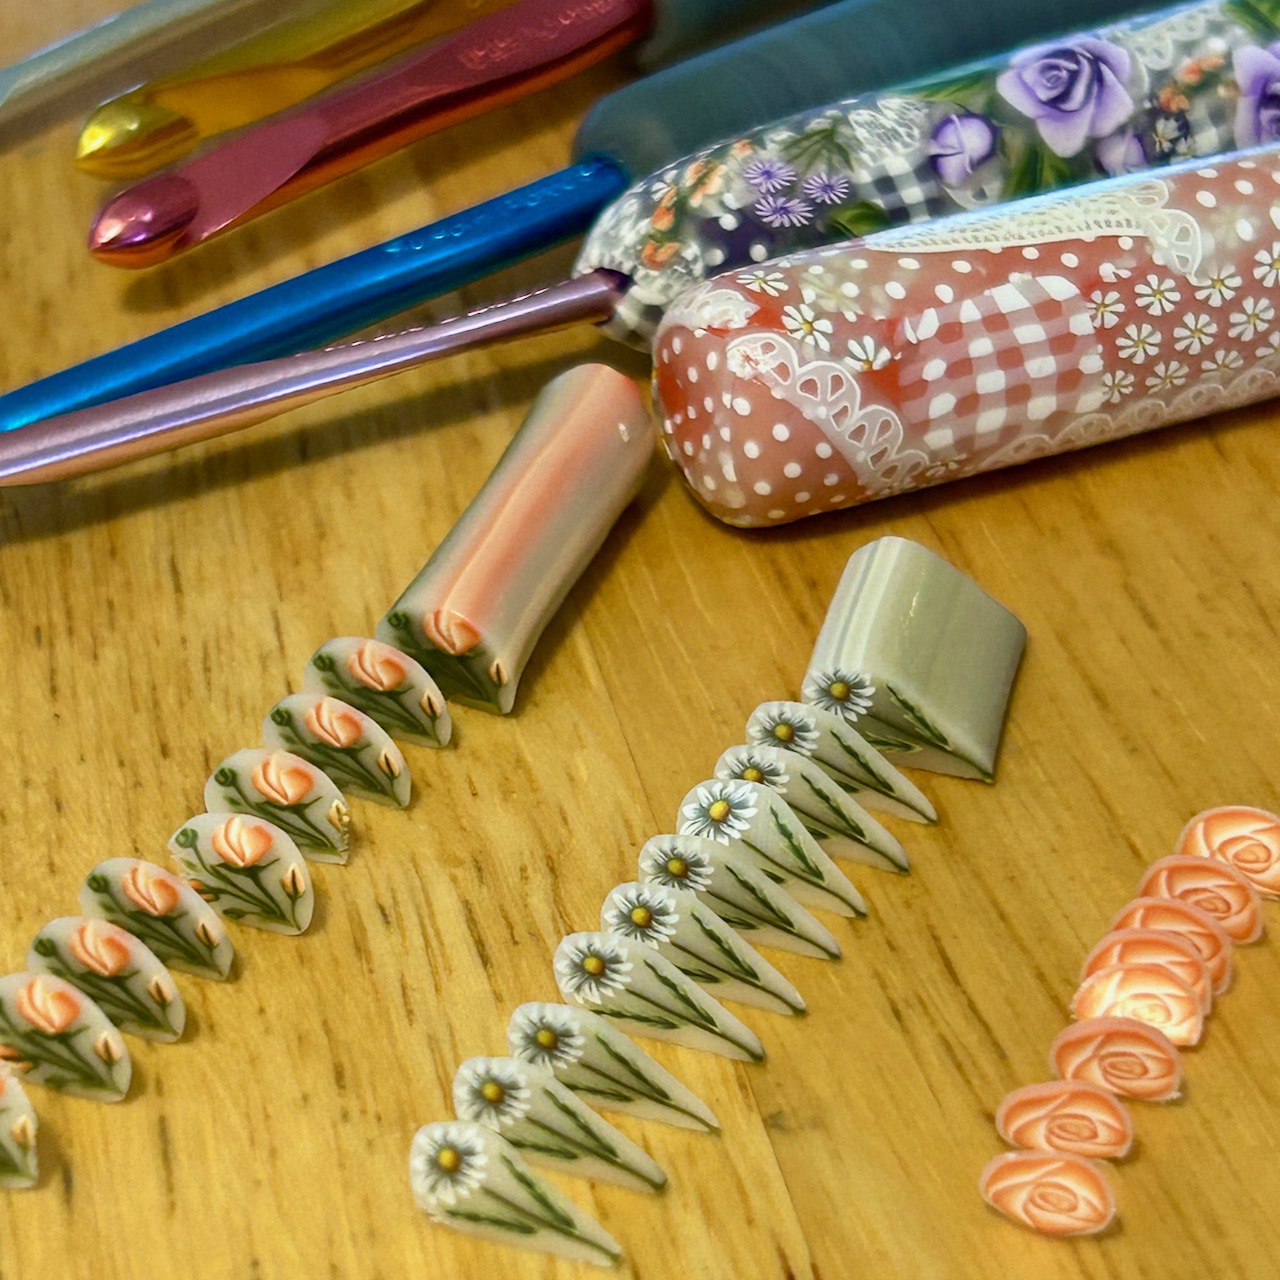
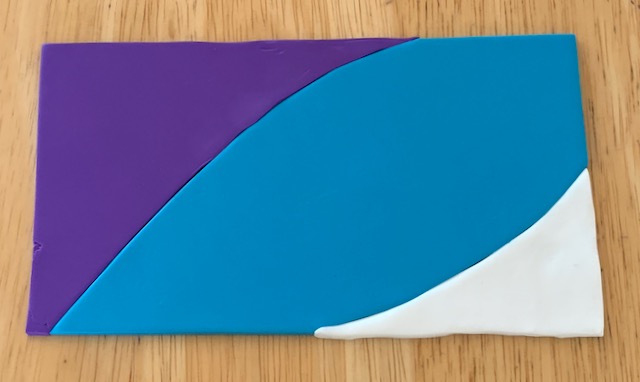
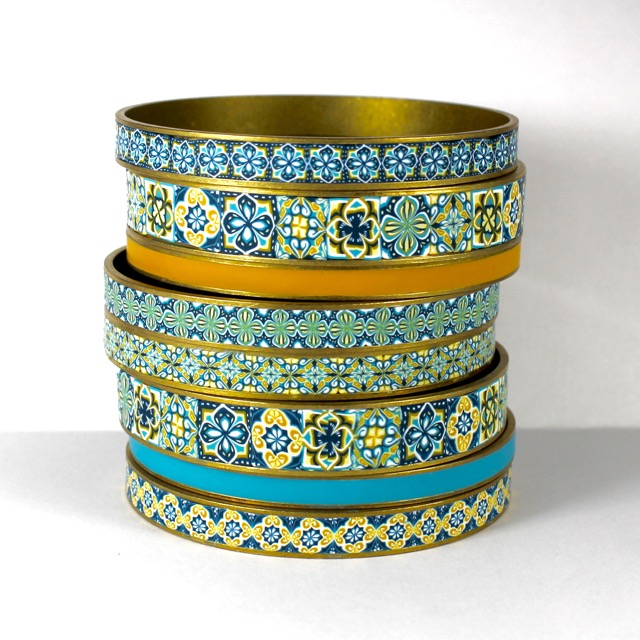
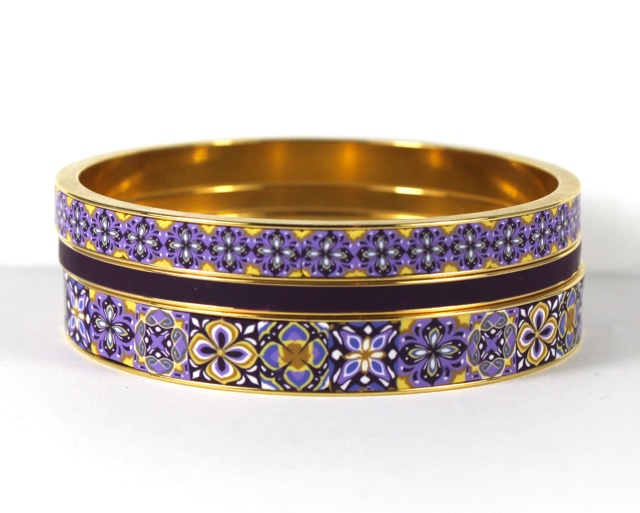
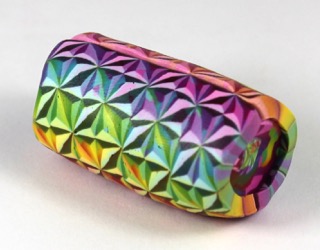
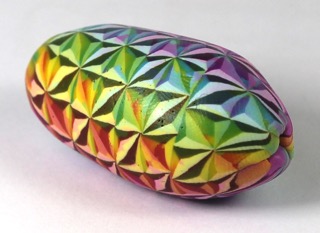
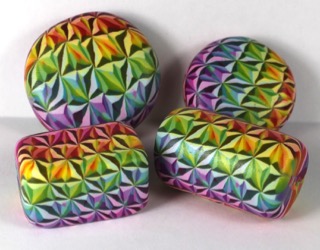
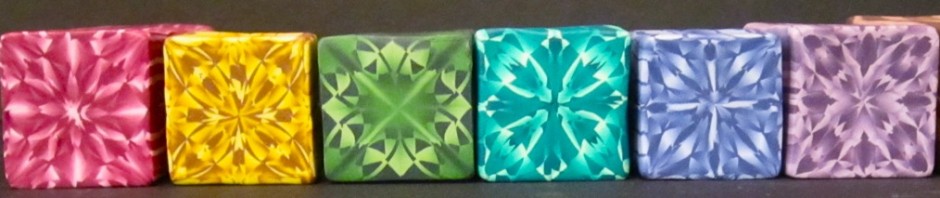
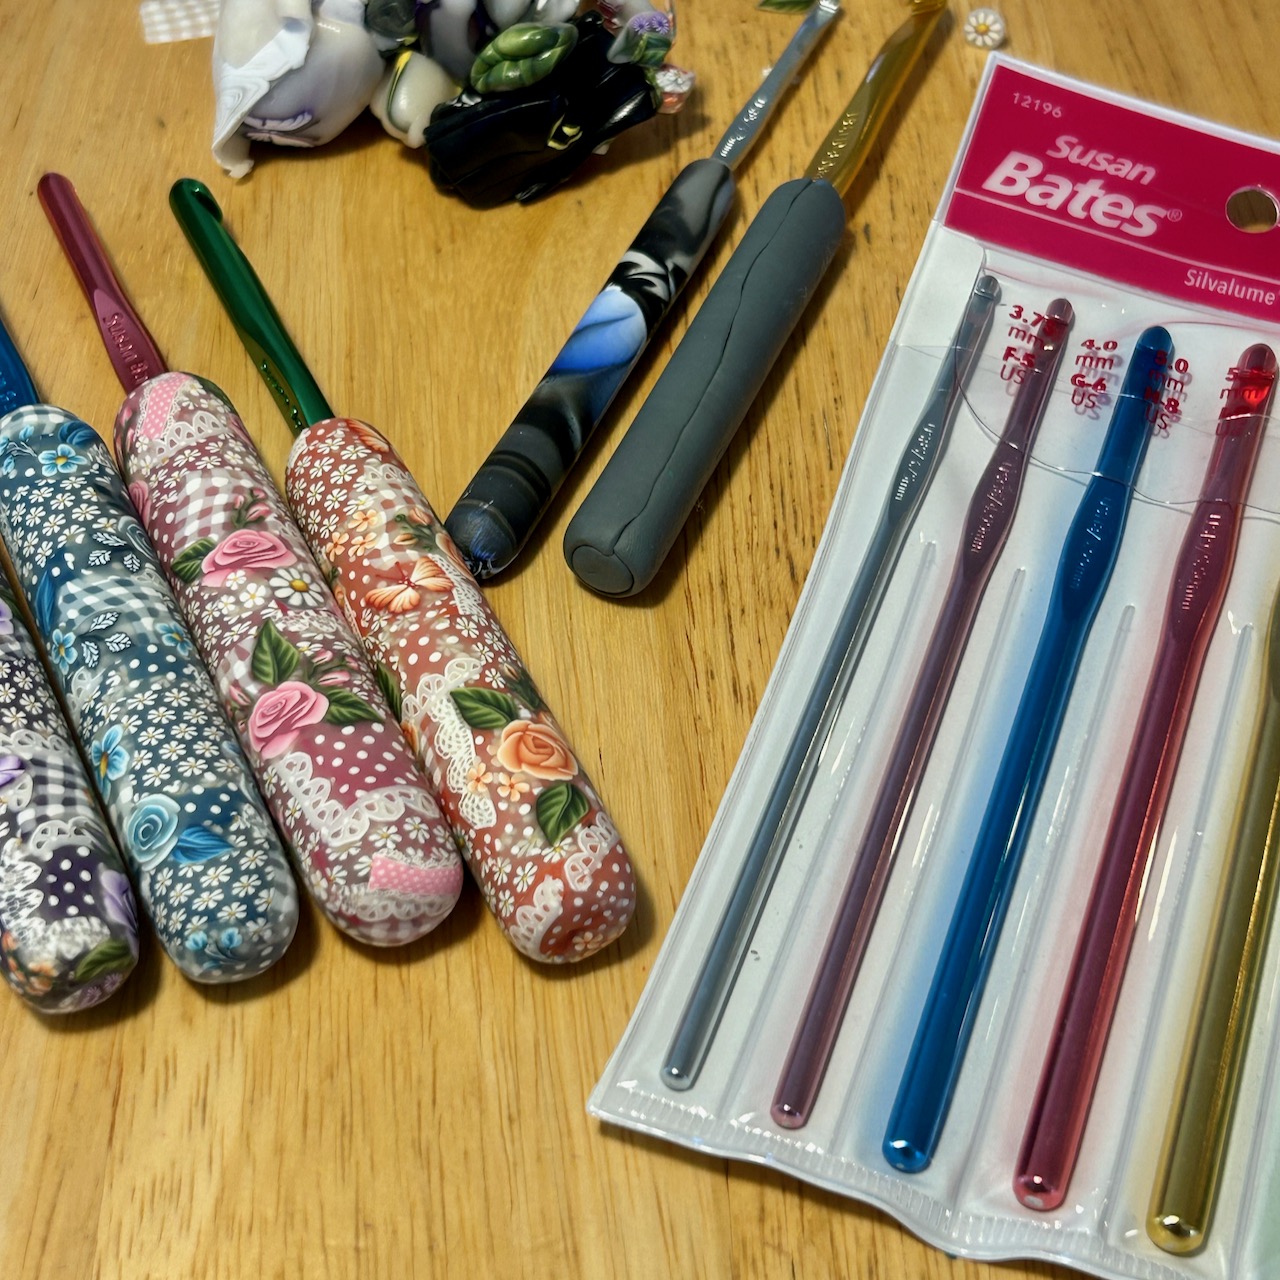
For years now, clay that looks like fabric has absolutely fascinated me. I have made all kinds of polymer clay canes that imitate the look of fabric. For these canes I used fabric to texture the clay and baked the hooks sitting on a piece of fabric. A bed of corn starch will also work. Otherwise you will have to set the hook in something so that it doesn’t have a flat place where it is baked on a flat surface. For these “fabric” canes from my recent Fabric Sampler lesson on Patreon, I used Premo brand and Premo white translucent. It just seems like polymer clay fabric quilt pattern and crochet hooks (and seam rippers!) are a perfect match!

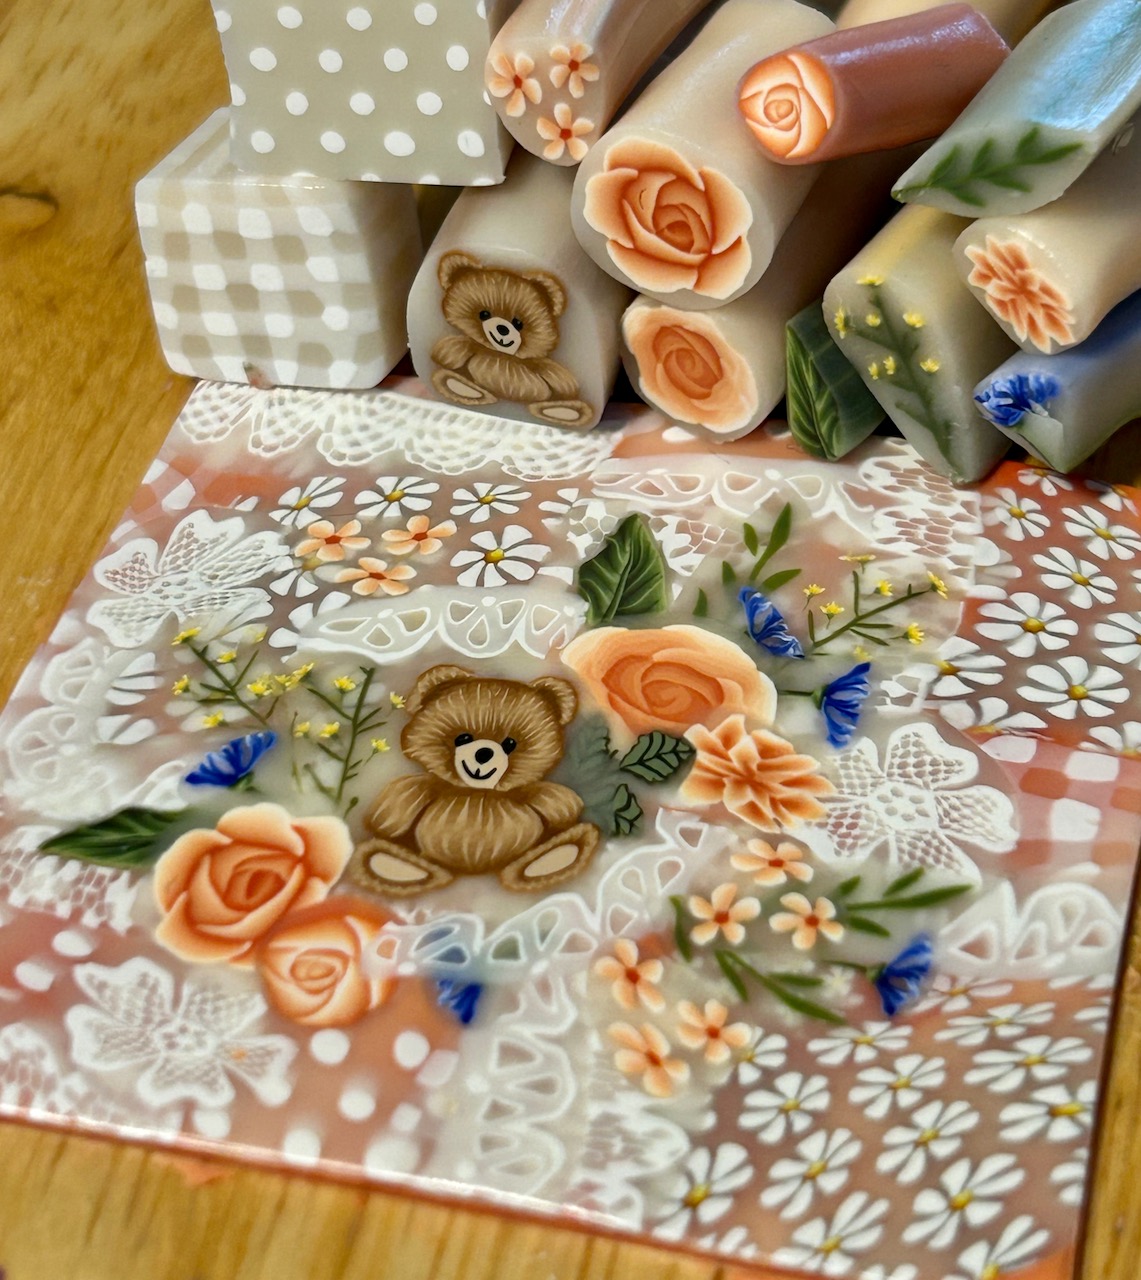
If you aren’t ready to make your own but you want to play around with ready-made, unbaked canes, come see what I currently have in my shop!