
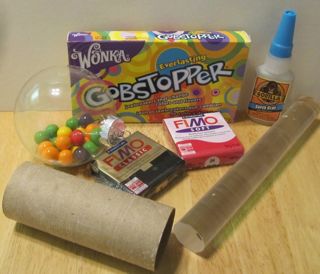
Materials:
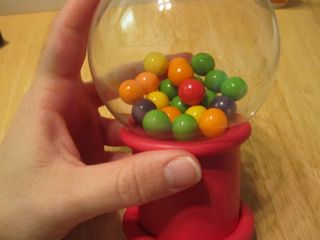
-Glass ball ornament – If you want to add real candy or gum balls, make sure the opening is large enough (this one is large: 3 and 1/2 inches in diameter)
-Candy, mimi gum balls, beads or clay balls to look like gum balls
-Red and Black polymer clay
-Knife or blade
-Rolling pin
-Ball point pen
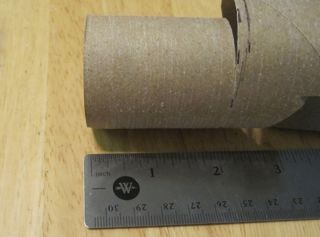
-Toilet paper roll and scissors
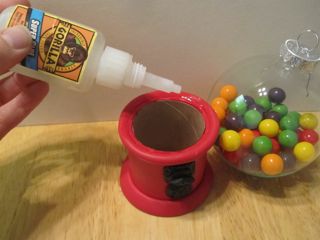
-Super glue (I would suggest rhino glue)
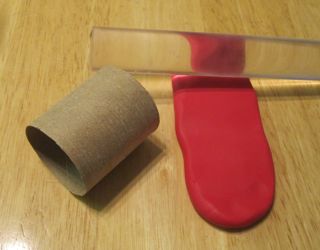
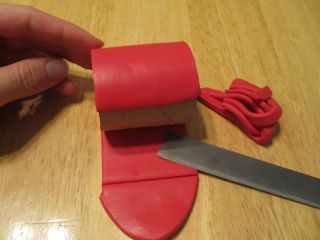
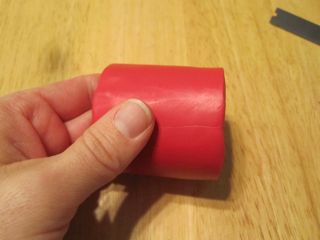
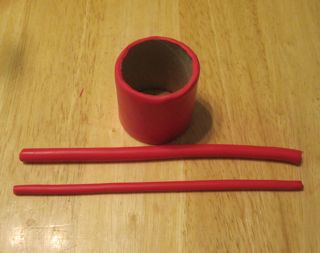
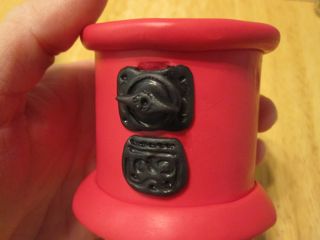
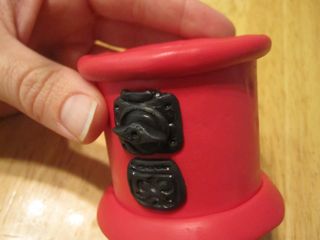
Form the clay onto the paper roll. The cardboard can be baked along with the clay!
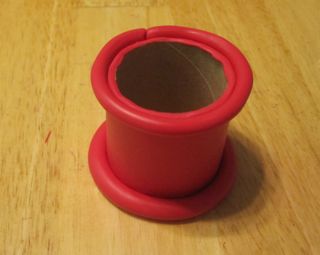
Make sure the ornament sits nicely on the base. Then remove the ornament and bake the base separately.

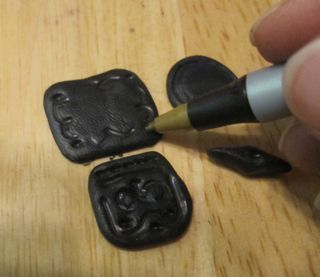
Use a ball point pen, or any other tool, to make a pattern on the black clay. Even the simplest dots and squiggles look really cool!
Be very careful when dropping the candy into the opening! The glass breaks easily!!!
If you don’t want it to be an ornament, you can put the ball on upside down.

After the base is baked, use super glue to attach the ornament.

Please like the PolymerClayWorkshop facebook page and check out this other adorable ornament tutorial in my etsy shop.


Adorable Meg!