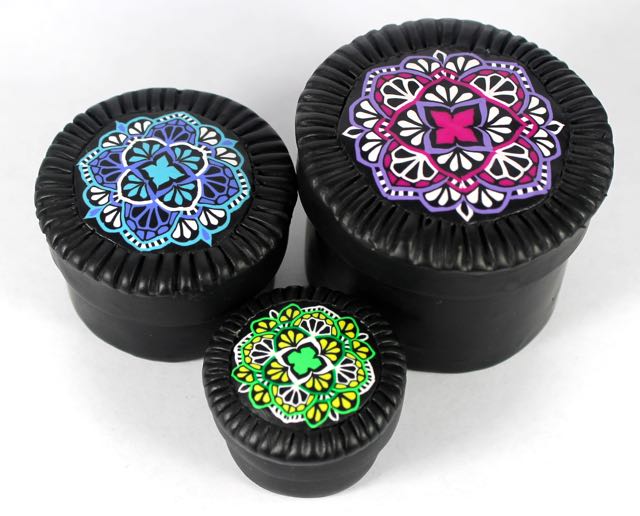
I’ve always loved nesting boxes! I’ve found nesting box patterns online, but they are too big for polymer clay and they don’t leave space for the lids to fit when the boxes are covered with clay. Here I’ve designed a free printable pattern in pdf for you to decorate with clay. circular nesting boxes for polymer clay Of course there are many other ways to build boxes. For this project, I didn’t use the smallest box. Instead I made a little toy to put in the last box. The inspiration for this particular set of boxes came from permission by Carrie Harvey of Beads from the coast. Look at this amazing box!
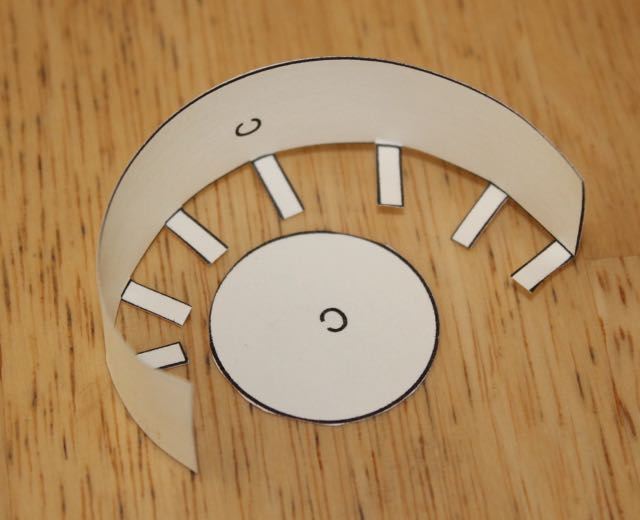
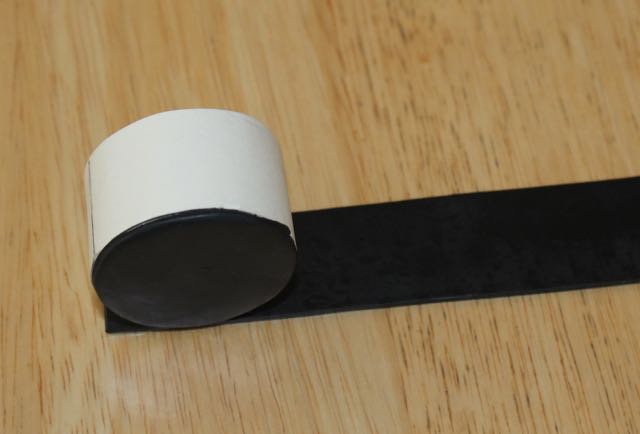
Step 1: Print out and assemble the boxes you want to use. The sides is longer than the circumference of the circle so that it can be overlapped and glued together. The black line in each rectangle is the line for the exact circumference.
Step 2: Cover the box with clay and smooth out the seams. 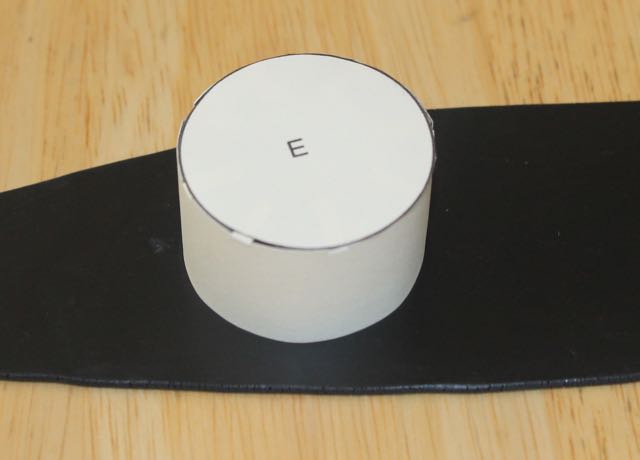

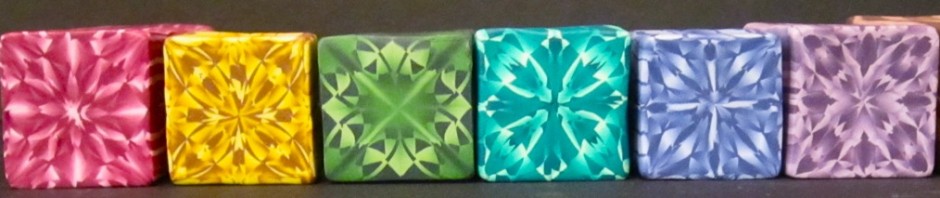
 Step3: Bake the boxes before decorating them if you want a strong surface to work on. Use translucent liquid sculpey or some other bond to add more clay. Here I use slices of the May2015 Cane Builder cane. I added texture with a toothpick. After decorating, bake it again. I only had to bake the lids.

Step 4: Some people can take out the card stock, or soak it out. I like to cover the tabs with a second circle of card stock and paint the inside with acrylic paint. I used black. You could also use metallic acrylic paint, or cover it with a fancy scrapbook paper.


Here is the little turtle I made for the last little box!


This is so clever!
xxx